Use LaTeX templates to write scientific papers: compiling

In our previous post we learned how to find an appropriate LaTeX template to write a scientific article. To illustrate how simple it is to download and start working with one of these templates, I used the example of preparing a paper for one of the PLOS journals.
In this post we are going to add a little content to our article and learn how to generate a beautiful, professional looking PDF. You will see that there is not much to this step, but it is worth taking our time and understanding what is going on.
Example: writing a paper for a PLOS journal
I will continue with our example of writing a paper for one of the PLOS journals.
While the first version of our paper will be fairly simply, over the course of the next few blog posts we will learn how to add references, figures, tables, mathematical equations, etc.
To get started, I have taken the PLOS latex template, given it a new file name and filled in all the required information. For this simple example I have limited myself to two authors and very little actual text. The current version of our .tex file looks like this.
Remove unnecessary comments, instructions and sections
As you can see, I have removed all of the comments and instructions provided by the folks at PLOS. I did this to clean up the document and make it easier for us to see the actual content of the file. Note that leaving the comments in the document would not have affected the final output.
LaTeX Header – just ignore it for now
Line 1 to 59 contains a bunch of commands that tell LaTeX how we want to format our paper. We won’t worry about these for now.
Start writing the paper
Line 60 of the .tex file contains the \begin{document}, which marks the official start of our article.
As you can see in the .tex file, I have retained the title I created in our previous post, and I have added authors, an abtract, an introduction, methods, results and a discussion.
To do this I simply deleted the filler text provided by the folks at PLOS and entered my own text.
The major sections of the paper were already present, so I did not have to change these.
However, if I did want to change them, it would simply alter the text located between the curly brackets of the \section{} commands.
For example, if I wanted to change the name of the Materials and methods section toMethods, I would have changed the text on line 99 from \section*{Materials and methods} to \section{Methods}.
Asterisks in \section{} commands.
Why is there an asterisks between \section and the two curly brackets {}? Basically, when we use \section{} with no asterisks, each section (and any subsection{}) will be sequentially number.
For example:
1. Introduction
2. Methods
2.1 Participants
3. Results
4. Discussion
With an asterisks, \section*{}, the number gets omitted and only the word in curly brackets appears in the section tile.
Typesetting our manuscript — pdflatex
With the first draft of our paper complete, let’s typeset our document so that we can see what it looks like and possibly share it with our co-authors.
Many of the modern LaTeX text editors will include a button or icon that allows you to typeset your document.
In Texmaker, the program I often use to write my LaTeX document, the icon looks like this:

As you can see, clicking on the icon will run pdflatex.
We can accomplish the same thing by running the following command on the command line:
$ pdflatex scientifcally_sound_article
Note that you don’t need to add the file extension.
the program pdflatex looks for a file with the extension .tex with the name you provide.
Whether I used Texmaker or the command line, running pdflatex generates the following two-page document:
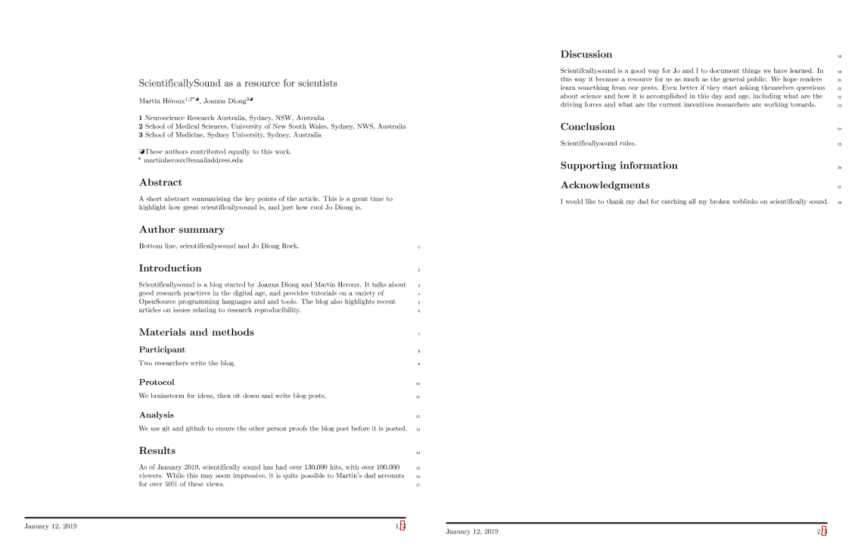
The document is also available here
Summary
In this post we learned how to edit a LaTeX template to generate a professional looking scientific paper. At this stage our paper is still rather simple, and we don’t really understand the various LaTeX commands that appear in the .tex file associated with our paper.
In our next post we will learn how to add references to our paper and format them appropriately based on the journal requirements.
