Markdown for Science and academia – write and publishing a study note

To start our Markdown adventure, we will write a study note. I tend to keep such notes throughout the lifespan of study to document:
- Conception and design
- Set-up and pilot
- Data collection and analysis
- Result interpretation
- Future studies and lessons learned
A key thing about these notes is that I want them to be easy to write (e.g. during a meeting or at the end of a busy day), but also professional enough to share with my collaborators. Thankfully, all of this is possible with Markdown.
Setting up for our first study note
To start off, we will fire up our favourite text editor and create a file called notes.md. Most text editors will recognise the .md file extension and provide syntax highlighting. This highlighting has no functional purpose; it simply helps make the mark-ups stand out (more on what I mean by mark-ups below).
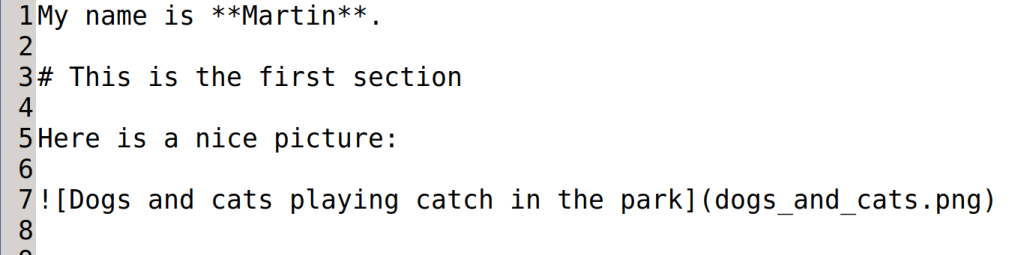
For example, here is what a document looks like before it is saved it in Gedit (Linux-based text editor):
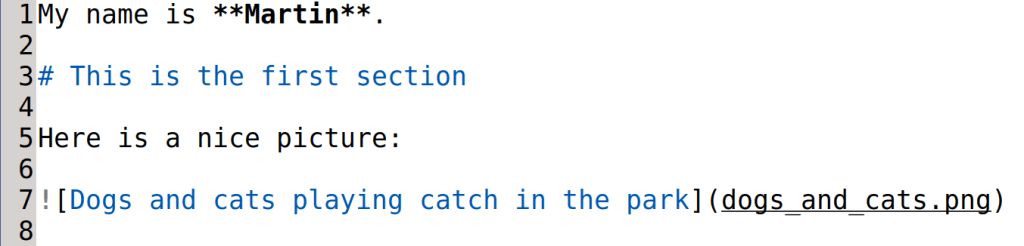
And here it is after the document has been saved as test_document.md: Gedit applies formatting to highlight the Markdown mark-ups:
Adding a title, author and date
Now that we have our notes.md file open in our favourite text editor, we can start typing our study note. The first thing to do is provide a title, author and date. We can specify this at the top of our document as follows:
---
title: Amazing Study
author: Martin Héroux
date: \today
---
Why do we need the three dashes before and after our text? Does there really have to be a space after the colon? We will talk about these things in a later blog post. For now, just realise that these details are important and must be used.
Adding headings and text
The next thing we want to do is add text in headings and sub-headings. Headings are easy to add. Simply start a line with # followed by a space and write your section heading. To add a sub-heading, simply add an extra #. To add a sub-sub-heading, add another #; you get the picture.
Below is an example of heading and subheadings in action:
# Meeting notes
Today I had a meeting with myself about my amazing study.

## Funding
My amazing study is so amazing that I have had to turn away many funders.

## Staff
My amazing study is so amazing that I am having trouble finding amazing people who can work on it.

### Interview
Thus far I have interviewed one cadidate, myself. Unfortunately I was not amazing enough, so the search continues.
Note the empty line before the start of a new heading; it is required for our Markdown file to be processed properly.
Adding citations and references
It is fairly straightforward to cite scientific papers and generate a reference list. Various reference management software can export selected references in BibTeX format. This will generate a file with a .bib extension; we can then use the reference key set by our reference manager software to cite a paper.
Alternatively, we can create our own .bib file and add references to it. For example, I used Pubmed to find a paper Jo and I wrote together and copied the Pubmed ID (pmid).
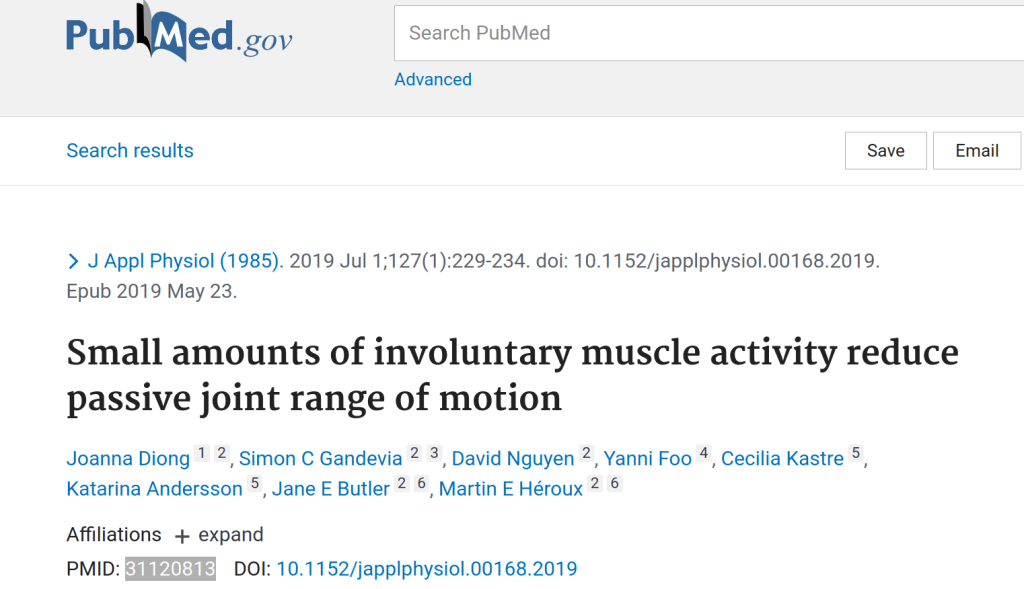
I then pasted this number into this website and clicked query -> select all -> export. This produced the reference in BibTeX format, which I copied and pasted in into our .bib file. Below is what the reference looks like:
@Article{pmid31120813,
   Author="Diong, J.  and Gandevia, S. C.  and Nguyen, D.  and Foo, Y.  and Kastre, C.  and Andersson, K.  and Butler, J. E.  and Héroux, M. E. ",
   Title="{{S}mall amounts of involuntary muscle activity reduce passive joint range of motion}",
   Journal="J Appl Physiol (1985)",
   Year="2019",
   Volume="127",
   Number="1",
   Pages="229--234",
   Month="07"
}
We probably want to change the reference key (pmid31120813) to make it more informative, for example diong_2019.
So we now have a file called references.bib in the same folder as our Markdown file and it contains the following text:
@Article{diong_2019,
   Author="Diong, J.  and Gandevia, S. C.  and Nguyen, D.  and Foo, Y.  and Kastre, C.  and Andersson, K.  and Butler, J. E.  and Héroux, M. E. ",
   Title="{{S}mall amounts of involuntary muscle activity reduce passive joint range of motion}",
   Journal="J Appl Physiol (1985)",
   Year="2019",
   Volume="127",
   Number="1",
   Pages="229--234",
   Month="07"
}
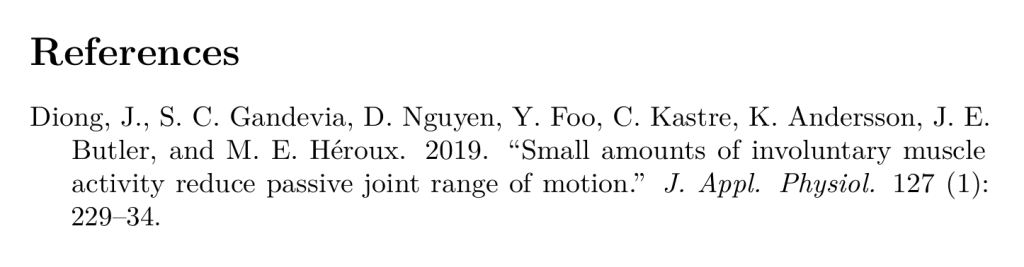
Finally, in our notes.md file, we can cite this paper in one of two ways. First, we can reference it like [@diong_2019]. This will result in the reference appearing in parentheses, like this: (Diong et al. 2019). We can also reference the paper without the square brackets, like this: @diong_2019. This will result in an in-line citation. That is, Diong et al. (2019). A reference list will also appear at the end of the document:
Citation and basic Markdown
It is important to note that citations (and the resulting reference list) will only appear after we have processed our Markdown file using Pandoc. If we include citations in a README.md file on Github, we won’t see our citations and reference list, only the markup (i.e. [@diong_2019]).
Citation and Reference Styles
This is a big topic and we will tackle it in a later blog post, when we discuss how to prepare a scientific manuscript using Markdown. For now, let’s enjoy the fact that we have a simple way to include citations in our study notes!
Code blocks
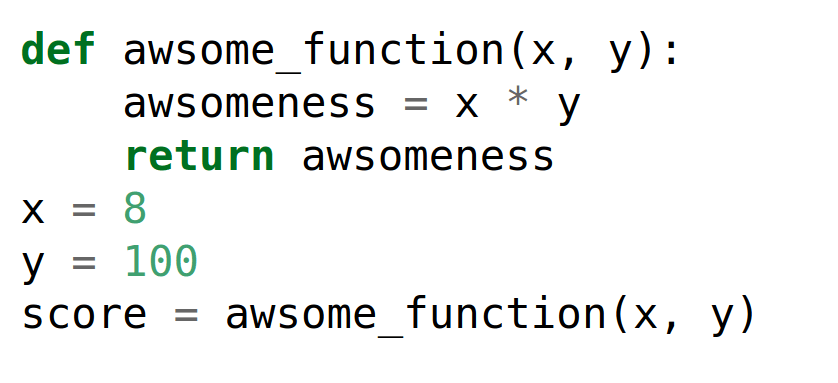
Depending on the type of study the notes are for, we might need to include a bit of code. This is straightforward in Markdown.
Here is a first example of a bash command-line command that we can use to run pandoc on our study notes:
~~~ {.bash}
$ pandoc notes.md --output=notes.pdf
~~~
This will look like:
Inserting figures
Another thing we might want to do is add a figure to our study note. This is easy to do, and no need to lift your hands from the keyboard!
The basic structure looks like this:
![](){}
More specifically:
{size instruction - optional}
Let’s say we have a figure called newfie.jpeg in the same folder as our notes.md file. We could add this figure to our notes by including the following line to our Markdown file:

If we wanted to specify a title, we could write the following:

If the image was on our desktop, we would write something like this:

(Obviously the above would need to be adapted if you are working on Windows)
Finally, if we wanted to specify the size we wanted to image to appear in, we could specify any of the following:
{width=400px}
{height=600px}
{width=4cm}
{width=6cm}
To provide an example, the last line generates the following:

Adding hyperlinks
In study notes we might want to refer to a video on YouTube or a clear description on Wikipedia. Again, this is simple to do in Markdown:
[a great video](https://www.youtube.com/watch?v=_NEMHM1wDfI)
This will appear like this in text: a great video
Generating PDF and HTML outputs
Markdown is pretty simple to read as is, and many of the mark-ups that we have used (except citations) will render just fine in a text editor that includes a Markdown Viewer or a website that does the same (e.g. GitHub).
But we are interested in having a professional looking PDF that we can store and send to our collaborators via email, and a HTML version of our notes that we can use to refresh people’s memory at our next meeting.
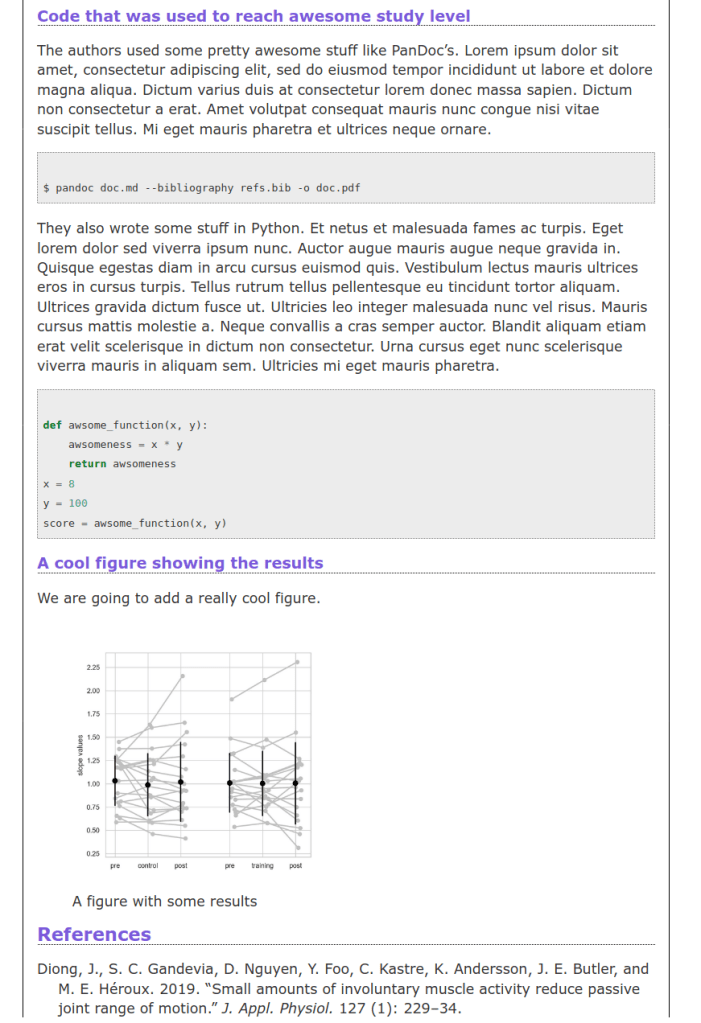
Both of these are pretty straightforward with Pandoc (see here for download and installation instructions) and LaTeX (see here for download and installation instructions). First, for the PDF output, we can type the following command on the command-line:
pandoc notes.md --bibliography=references.bib --output=notes.pdf
Here is an example from a study note I made:

Only the first page is shown; the full document can be found here. If the study note did not include citations, we could have omitted --bibliography=references.bib from the command.
To generate a basic HTML output, we can use the following command:
pandoc notes.md --bibliography=references.bib --output=notes.html

While this acceptable, it is simple to apply a .css file (Cascading Style Sheets) and obtain a nicer HTML file. For example, I copied a simply .css file from the Pandoc site, saved it to the same directory as my notes.md file and applied it to our study note as follows:
pandoc notes.md -c pandoc.css --bibliography=references.bib --output=notes.html
This resulted in the following:
All these files (.html, .css) are available here.
Summary
Hopefully you were able to follow along and appreciate the simplicity of writing a document in Markdown. In the next tutorial we will review various features that we might want to include in our documents, such as tables, lists, footnotes and more.
