LaTeX: How to create a document with LaTeX – Part 2

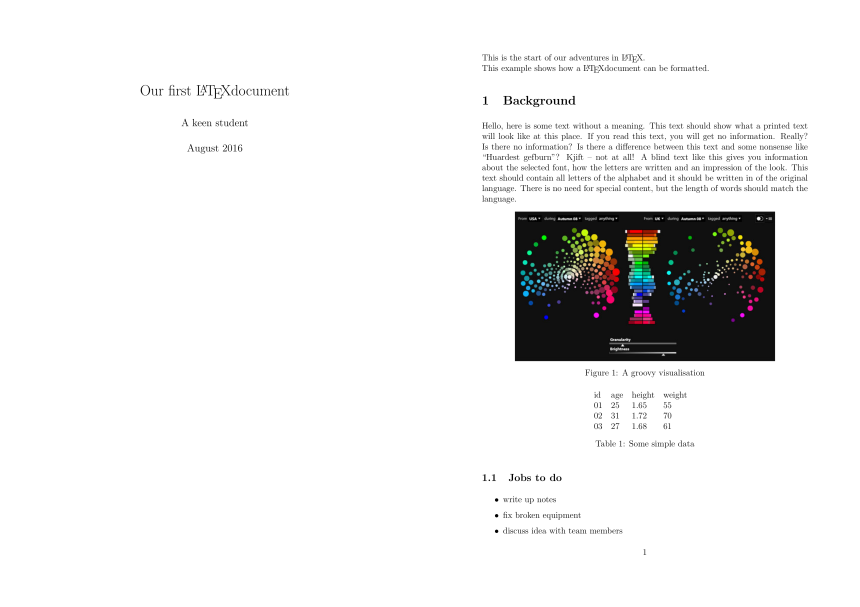
In the previous post we learned how to create and format a LaTeX document. Here we will build on the previous document and add a figure and table. The complete file to generate this version of the document shown in Figure 1 is:
1 2 3 4 5 6 7 8 9 10 11 12 13 14 15 16 17 18 19 20 21 22 23 24 25 26 27 28 29 30 31 32 33 34 35 36 37 38 39 40 41 42 43 44 45 46 47 48 49 50 51 52 53 54 55 56 |
% Preamble
\documentclass[12pt,a4paper]{article}

\usepackage{fullpage}
\usepackage{graphicx}
\usepackage{caption}
\usepackage{parskip}
\usepackage[english]{babel}
\usepackage{blindtext}

\title{Our first \LaTeX document}
\author{A keen student}
\date{August 2016}

\begin{document}

\begin{titlepage}
\maketitle
\thispagestyle{empty}
\end{titlepage}

This is the start of our adventures in \LaTeX. \\
This example shows how a \LaTeX document can be formatted.

\section{Background}
\blindtext

% Insert figure
\begin{figure}[!htbp]
\centering
\includegraphics[scale=0.6]{fig.jpg}
\captionsetup{justification=centering}
\caption{A groovy visualisation}
\end{figure}

% Insert table from LaTeX table generator
\begin{table}[!htbp]
\centering
\label{my-label}
\begin{tabular}{lllll}
id & age & height & weight &  \\
01 & 25  & 1.65   & 55     &  \\
02 & 31  & 1.72   & 70     &  \\
03 & 27  & 1.68   & 61     &
\end{tabular}
\caption{Some simple data}
\end{table}

\subsection{Jobs to do}
\begin{itemize}
    \item write up notes
    \item fix broken equipment
    \item discuss idea with team members
\end{itemize}

\end{document}
|
Figure 1:
New bits of information:
Line 4-6. Use the packages fullpage to push text closer to page margins and fill out page space, graphicx to apply more graphing functionality, and caption to write captions for figures and tables.
Line 28-34. Basic receipe for inserting figure: Begin the figure, give it automated positioning options htbp (here, top bottom, page) to “float” the figure and remove restrictions with ! symbol, centre the figure, scale it to 60% of its actual size, write a caption and end the figure.
Line 36-47. Basic recipe for inserting table: I used to stuff around with table formatting options but it got too fiddly so now I input data into an online LaTeX table generator which generates the data as text with formatting specifications, before copy-pasting the text into my .tex file. The code means: begin a table and float it, centre the table, give it a label, begin and end insertion of the table data, write a caption, end the table.
We see the figure and table inserted in our PDF file. Play around with the figure and table positioning arguments and see how appearance of the figure or table in the document change as the arguments change.
Summary
We learned how to add a figure and table to our document, and learned about some other useful LaTeX packages to help with formatting these.
This marks the end of a quick intro to writing documents in LaTeX. This programming language may seem a little complicated at first, but one gets the hang of it with practice. Some journals offer LaTeX manuscript templates with formatting already pre-set in the document so all authors have to do is type up the manuscript text! With this workflow, it is easy to digitally record changes to a text-based document so we only have one version of the document but a memory of how it changes over time. We can view differences between versions of the document with a tool like Git.
